I’m continuing on my task to get a full project using iOS unit tests and integration tests. My first step is to set up logic tests in Xcode. I recently watched an excellent unit testing course on Lynda. In that course, Ron Lisle goes over the advantages of using logic tests. The most compelling factor in using logic tests over application tests is speed.
Application tests actually bootstrap the entire app in order to run. This takes a considerable amount of time and can be a bottleneck. You want your unit tests to run fast. Logic tests will build the main application bundle, but then run in isolation and tests methods on any class you are interested in. I decided to write as many logic tests as possible, and only switch to application tests when logic tests could not get the job done. I am anticipating that I will need to use application tests once I start testing view controllers, but I won’t know until I get there.
Setting up the project
I am starting from a blank slate, but I have one caveat: I want to use CocoaPods for all of my external library maintenance. If you haven’t heard of CocoaPods, you should read up on it. CocoaPods is a way to manage your 3rd party dependencies more easily. It supports updating libraries in place and removes a lot of pain with integrating 3rd party code. As you will see, however, using CocoaPods with logic tests makes things a little more complex during setup.
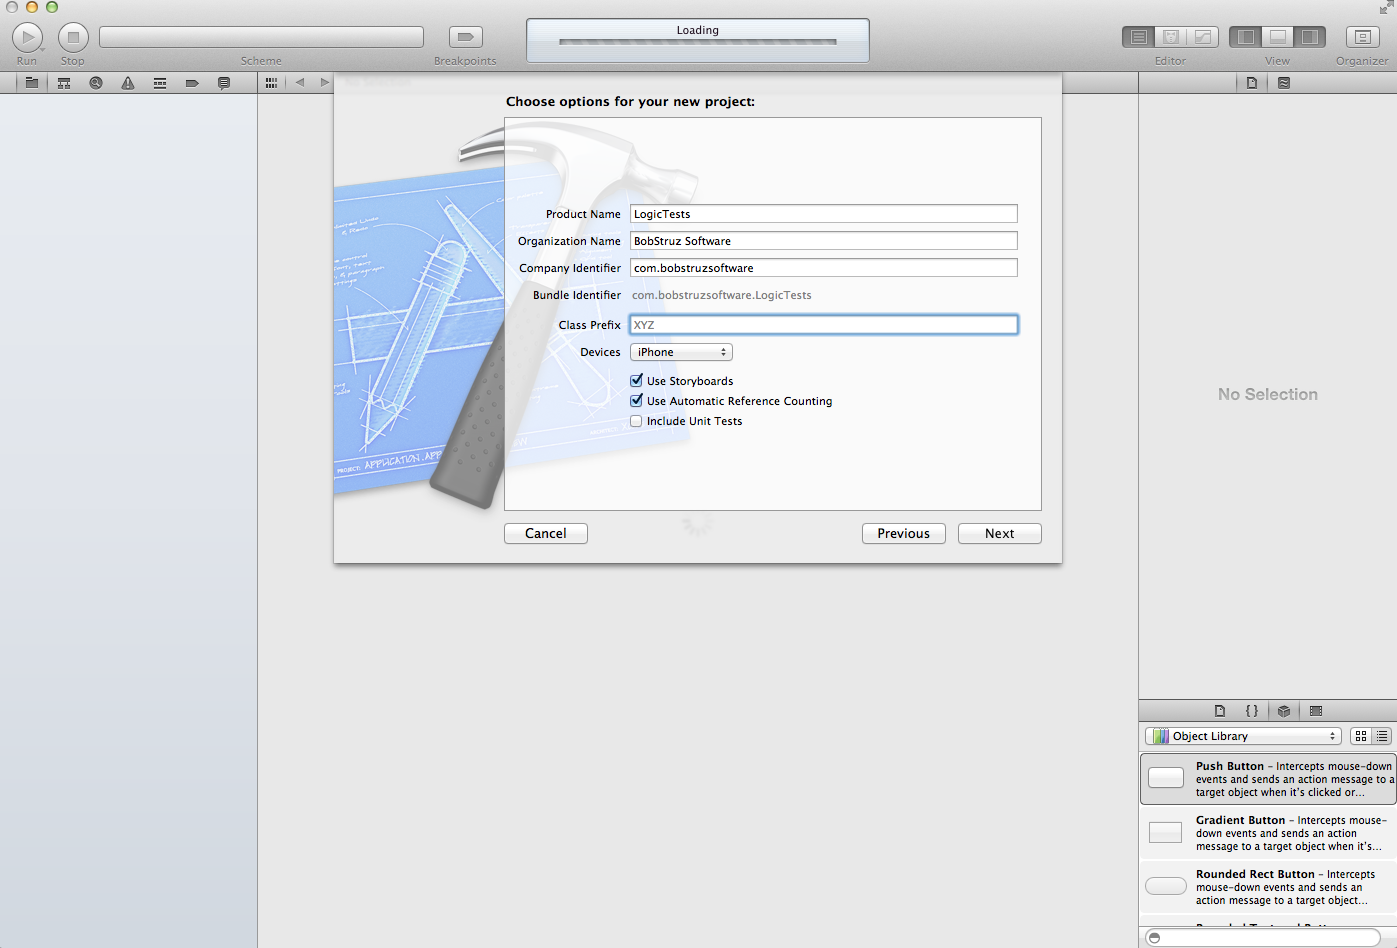
To begin, start a new project without any unit tests included.

Next, make sure you have the cocoa pods gem set up . There are directions CocoaPods Setup if you’ve never done this before. After that, let’s bring in 2 3rd party libraries by creating a podspec file and telling CocoaPods to set everything up for us.
Set up a Podspec file
- Close Xcode if it’s still open
- Create a file in the base folder of your project named
Podfilewith no extension - Add a line telling CocoaPods the platform and version of iOS you are using.
platform :ios, '6.0'
- Add lines for 2 pods (these are really dependencies on 3rd party code)
pod ‘SVProgressHUD’pod ‘MagicalRecord’
- Save your file and close it
- Open terminal, navigate to the base folder of your project, and enter the following line
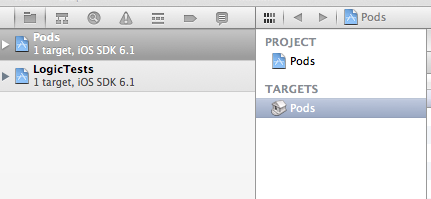
pod install7.**** You should see some status lines go by, then a line instructing you to use a workspace now instead of the project file. This is because CocoaPods creates a second project namedPodsand adds it and your original project to a workspace named after your project. In my case, it created aLogicTests.xcworkspace file. If I open that file now, I can see that I have aPodsproject and aLogicTestsproject inside of the workspace.

We’re going to break here for now. Next, we’ll start making use of the 3rd party libraries we included via CocoaPods. After that, we’ll finally set up the logic tests and get them running.